Zero to k3s Kubeconfig in seconds with k3sup
k3sup: From zero to KUBECONFIG in < 1 min
K3s is an open-source, lightweight Kubernetes distribution by Rancher that was introduced this year and has gained huge popularity. People not only like the concept behind it, but also the awesome work that the team has done to strip down the heavy Kubernetes distribution to a minimal level. Though k3s started as a POC project for local Kubernetes development, its development has led people to use it even at a production level.
Official GitRepo: https://github.com/rancher/k3s
Official Definition: k3s is a fully compliant production-grade Kubernetes distribution with the following changes:
- Legacy, alpha, non-default features are removed. Many of these features are not available in most Kubernetes clusters already.
- Removed in-tree plugins (cloud providers and storage plugins) which can be replaced with out-of-tree add-ons.
- Added sqlite3 as the default storage mechanism. etcd3 is still available, but not the default.
- Wrapped in a simple launcher that handles a lot of the complexity of TLS and options.
Seeing the popularity for k3s, many developers have started building projects around k3s; this blog will focus on one of those projects, k3sup.
K3sup: From zero to KUBECONFIG in < 1 min
K3sup is an open-source project created by Alex Ellis that makes k3s installation and generation of a kubeconfig file fast and easy. This tool installs k3s, updates the SAN address to the public IP, downloads the k3s config file, and then updates it with the public IP address of your VM so that you can connect to it with kubectl. It automates everything and is very fast.
The following steps illustrate this process using an Amazon EC2 instance:
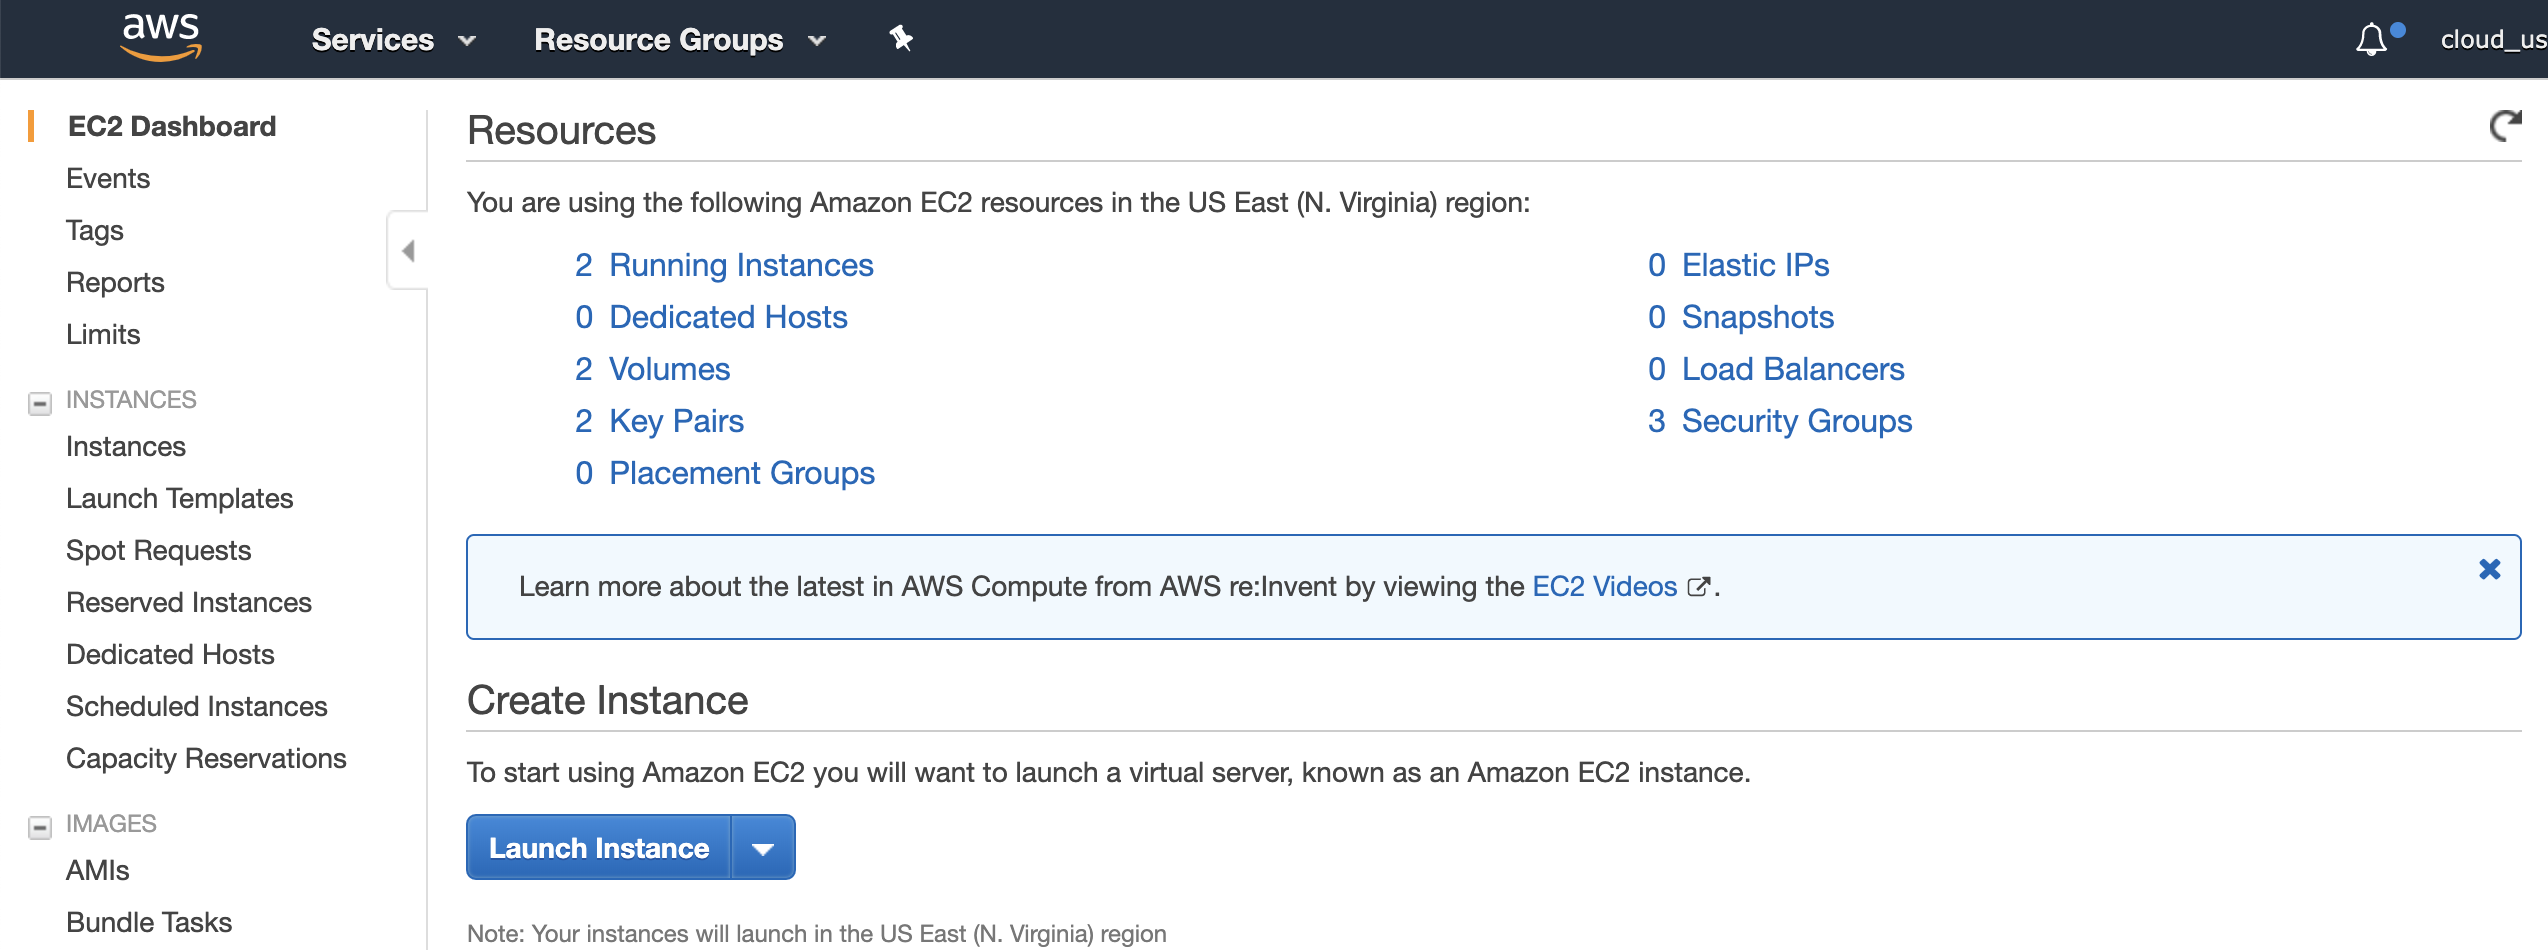
Step 1: Spin up an Amazon EC2 Instance and have security group opened ports and login via ssh.
- Login to Amazon console and click on EC2
- On EC2 Dashboard, click Launch Instance
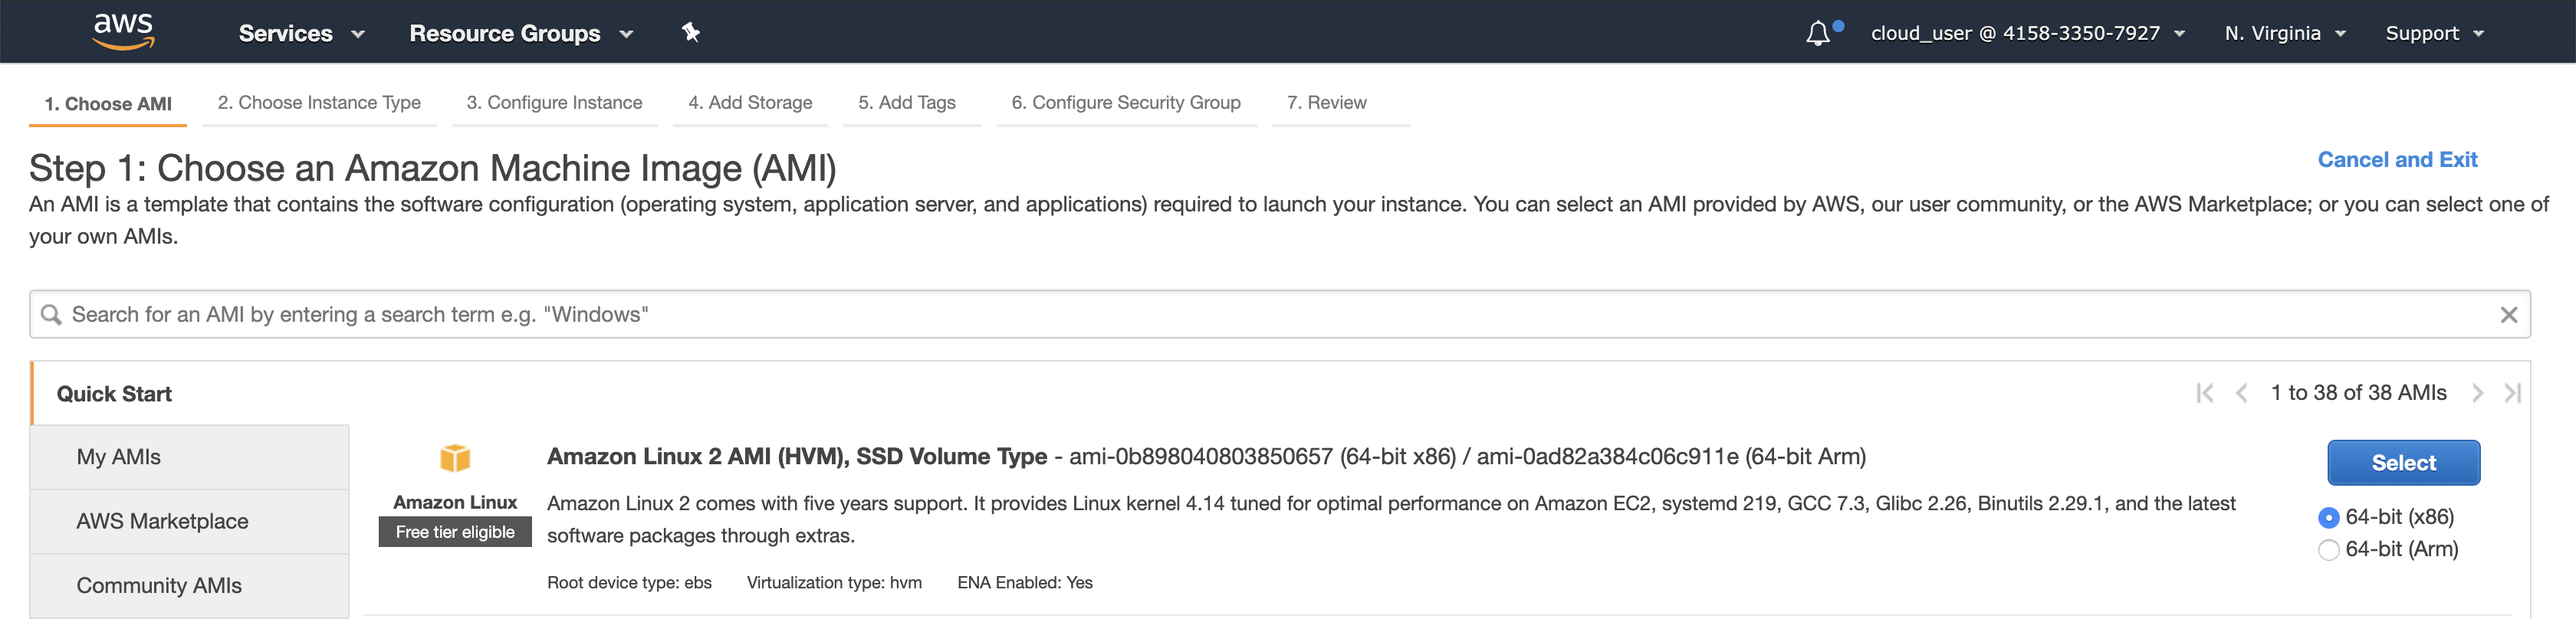
- Select Amazon Linux 2 AMI Image
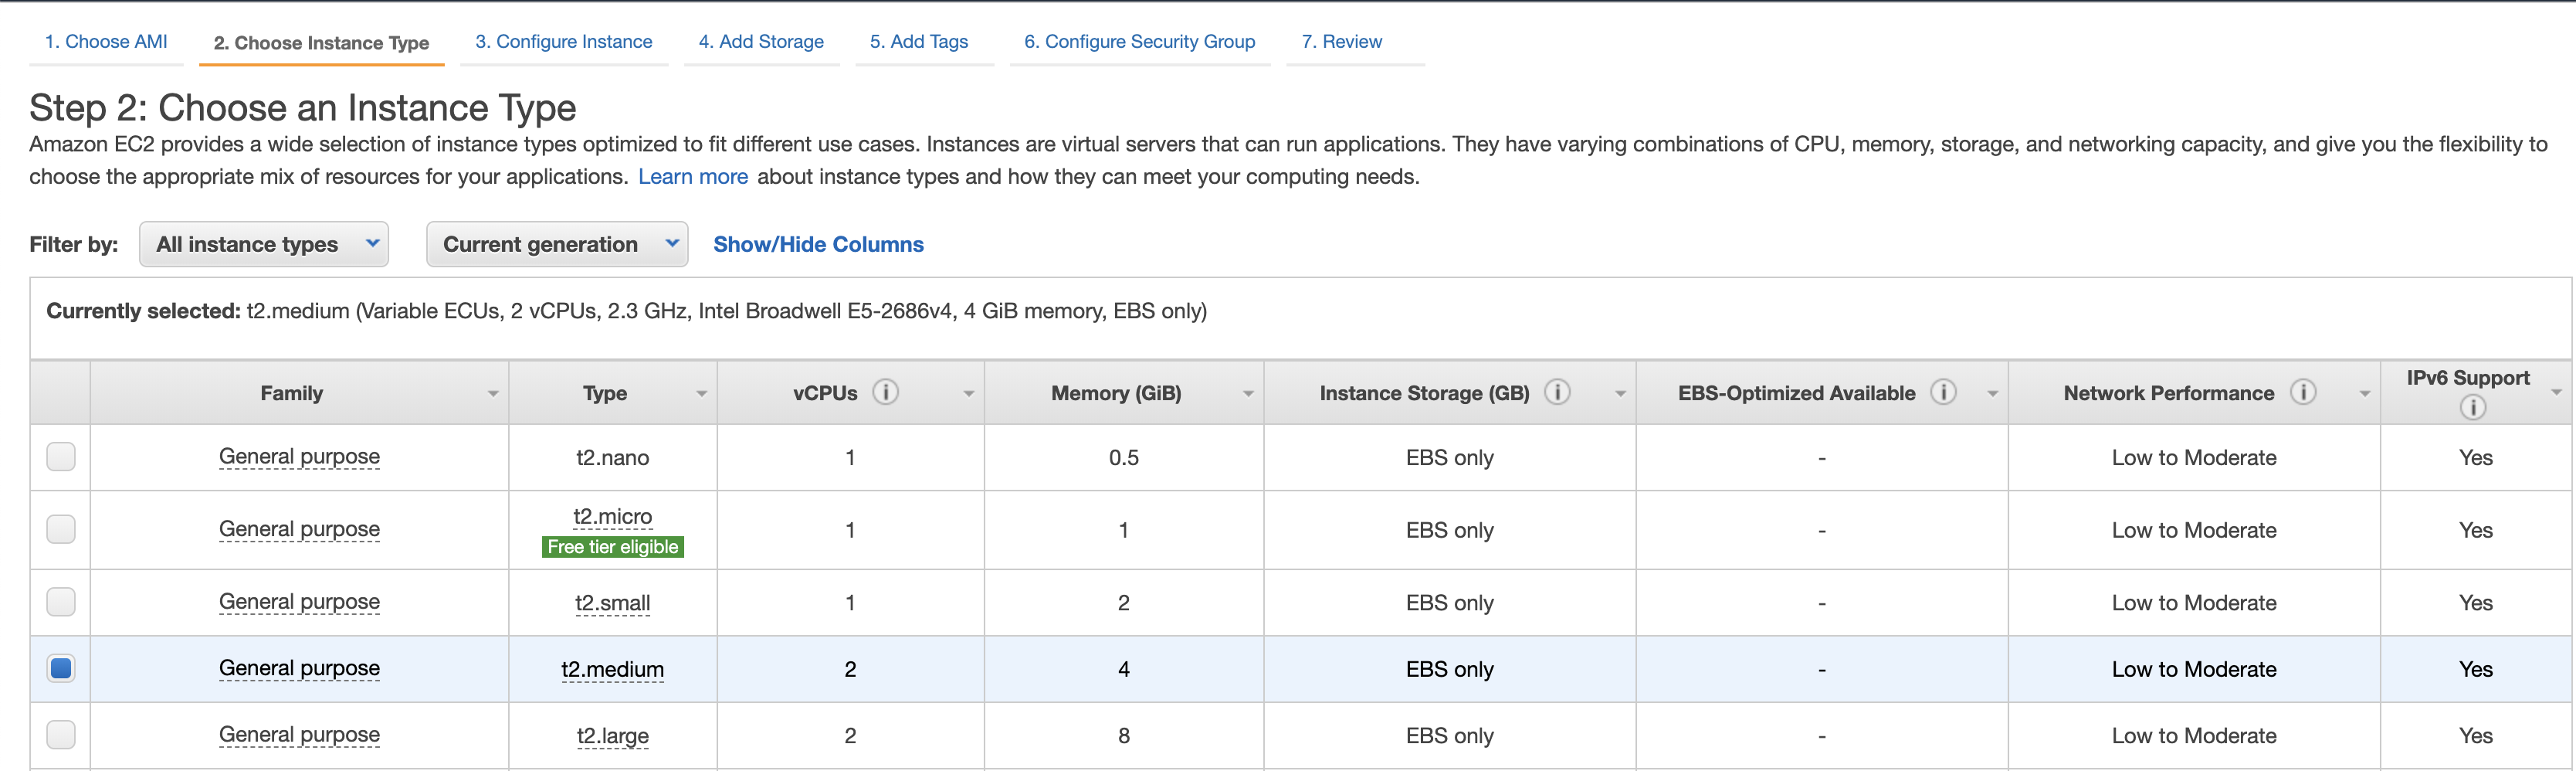
- Select Instance Type (we will use t2.medium)
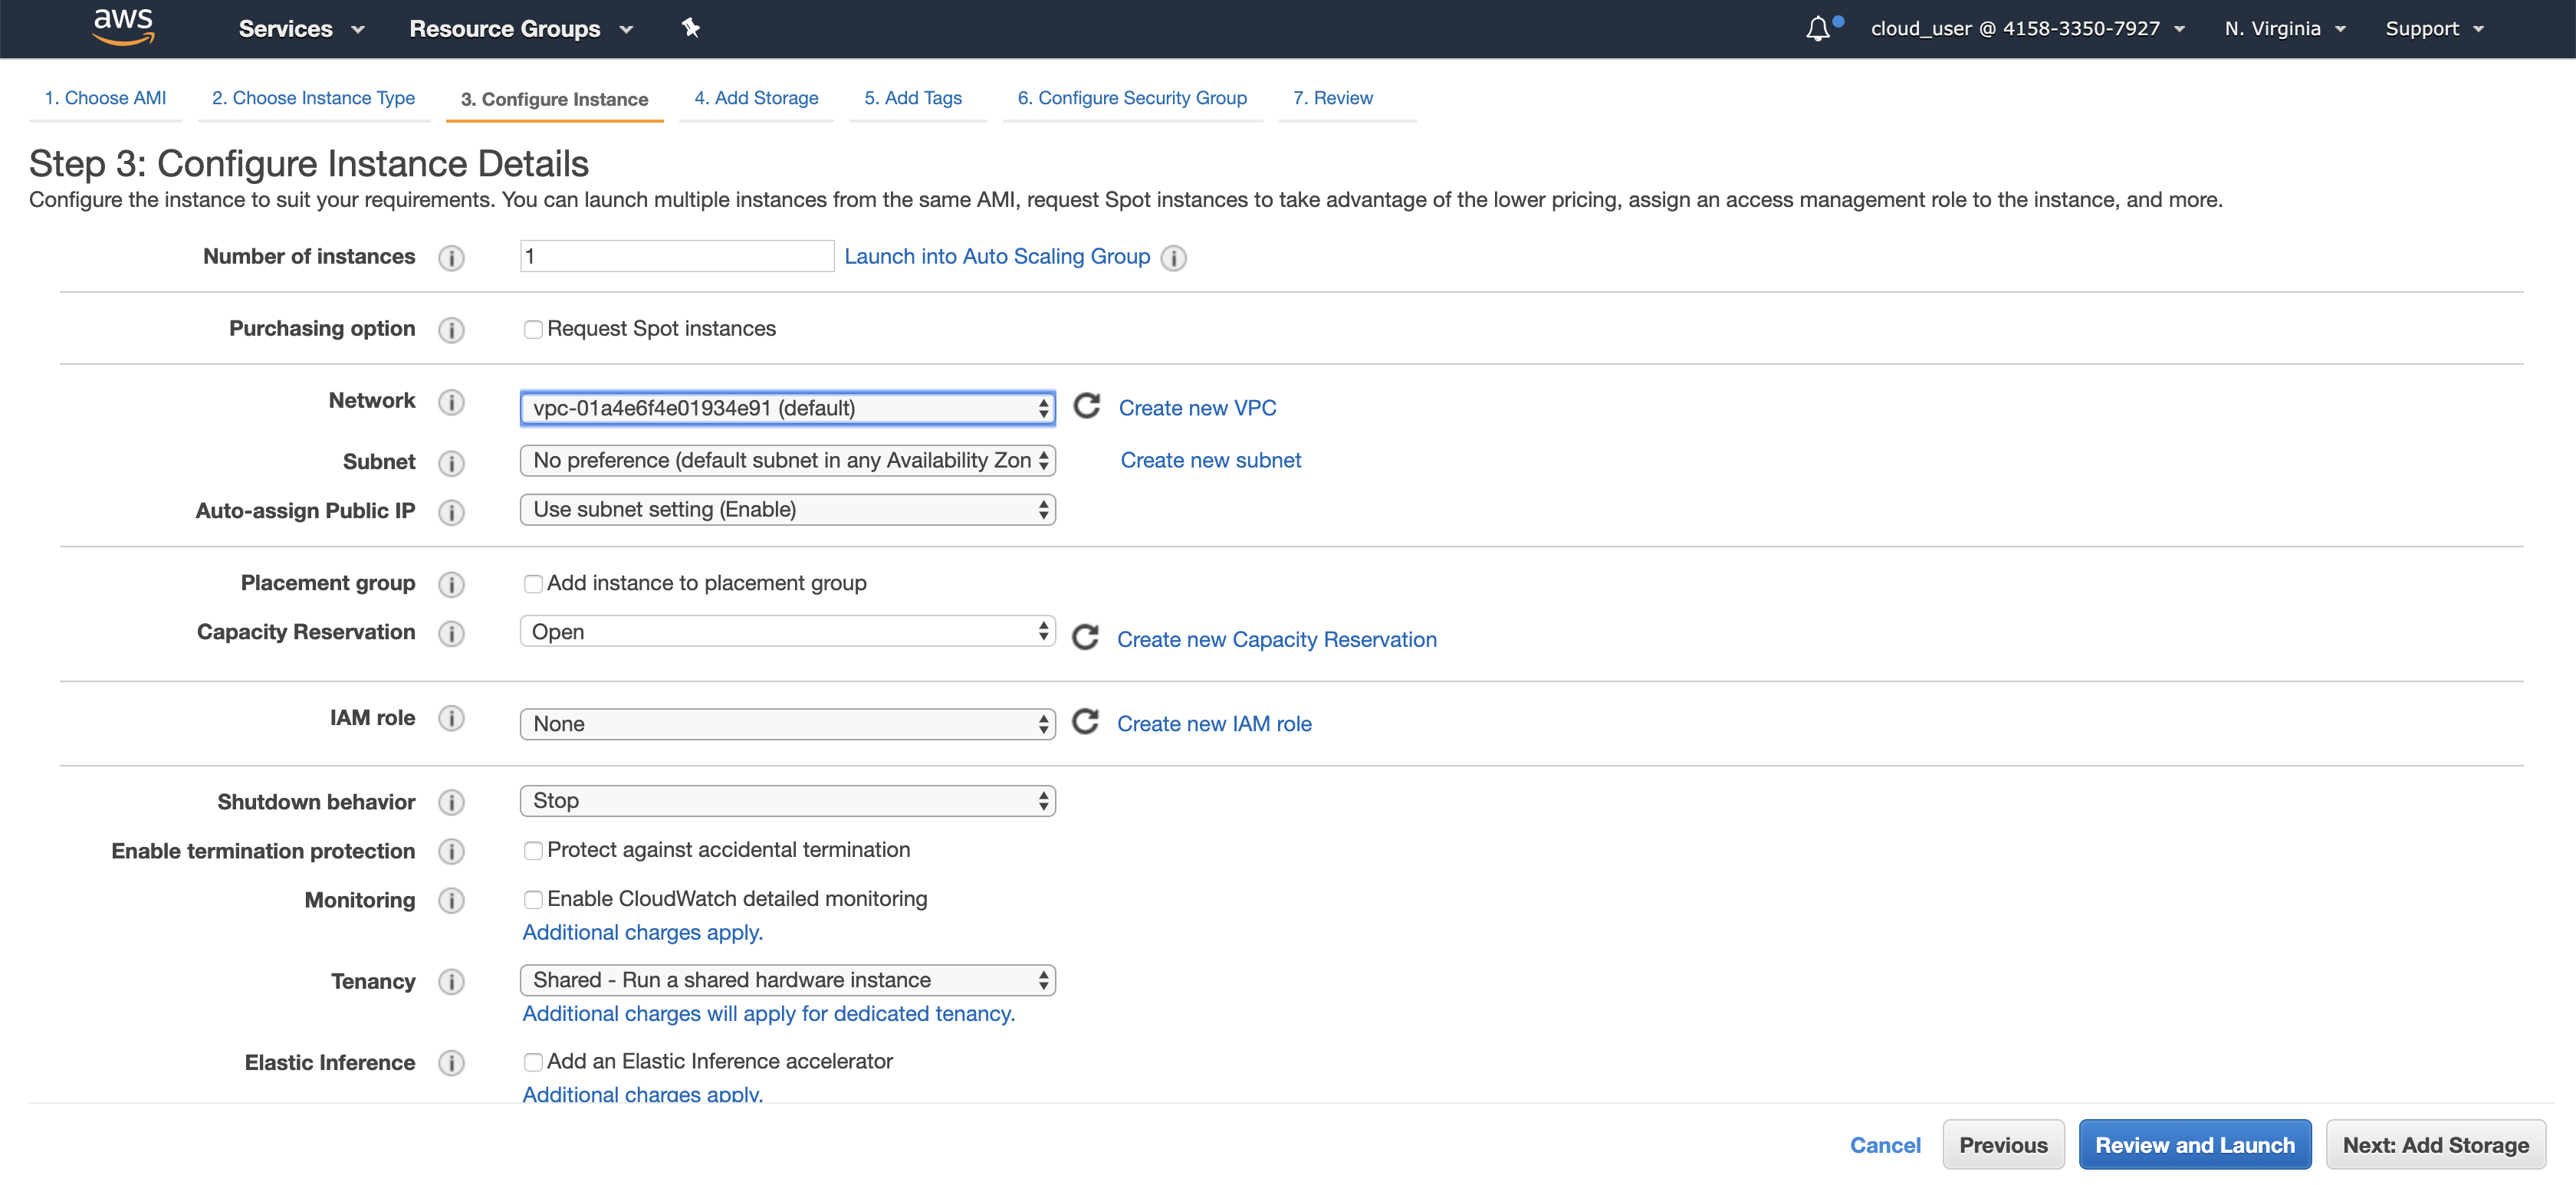
- Select VPC/Subnet/IAM etc and Enable Auto-assign Public IP (we are keeping everything default)
- Add Storage (we are using default)
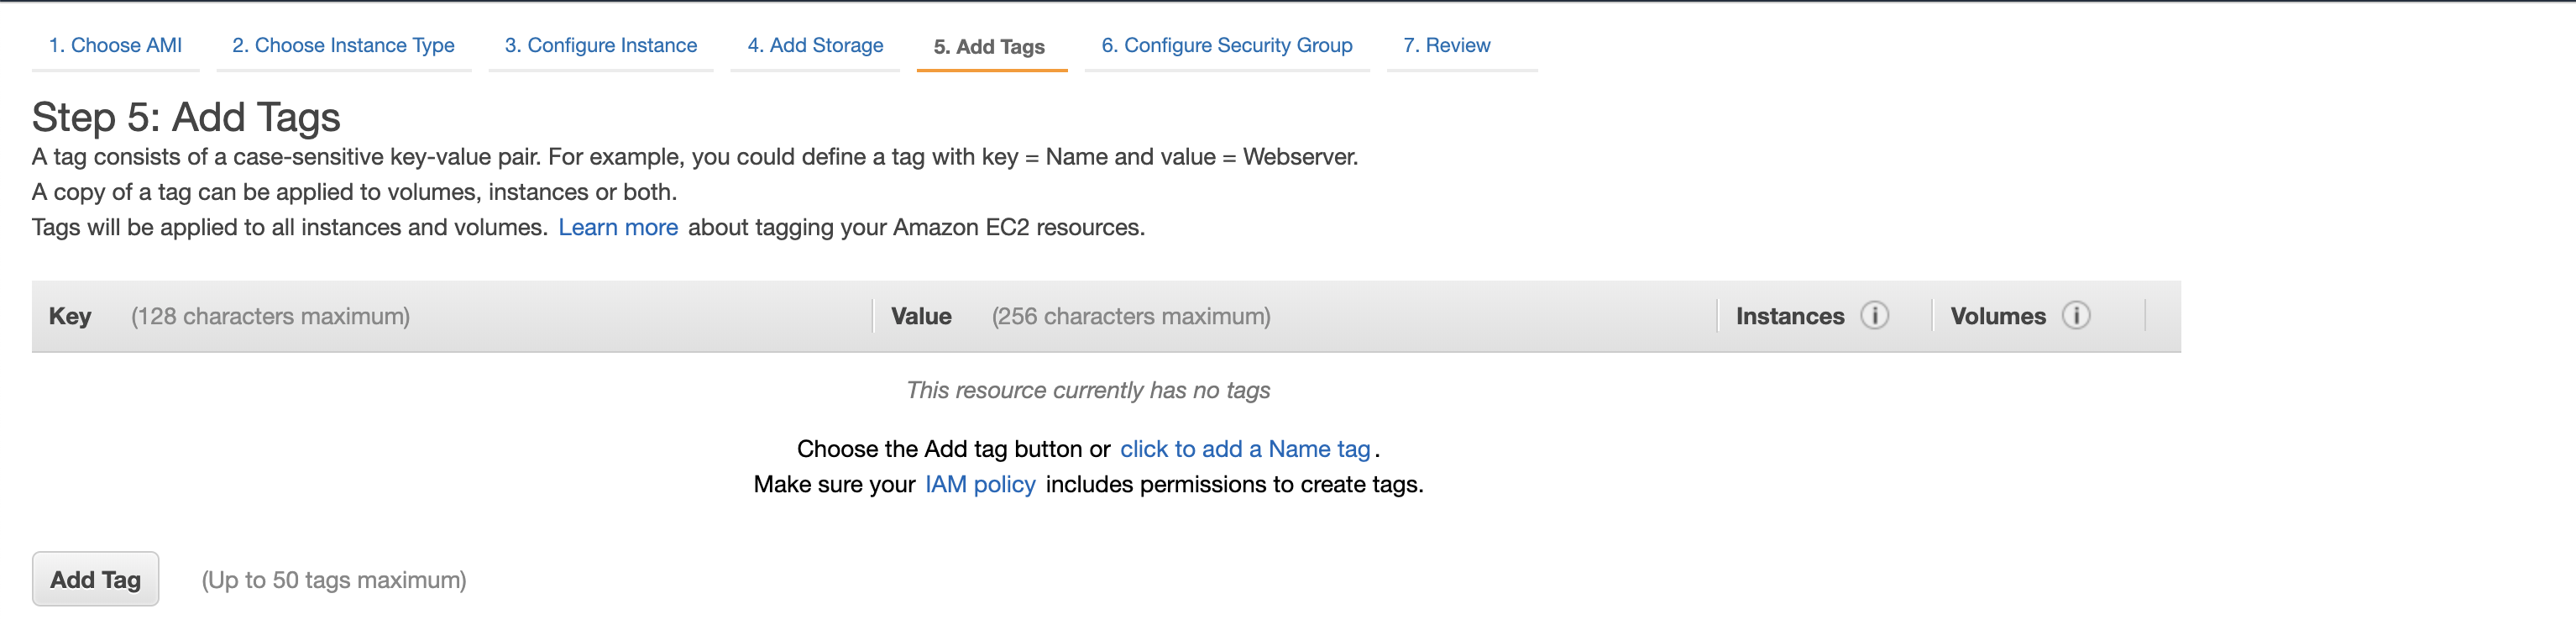
- Add Tags (add if required)
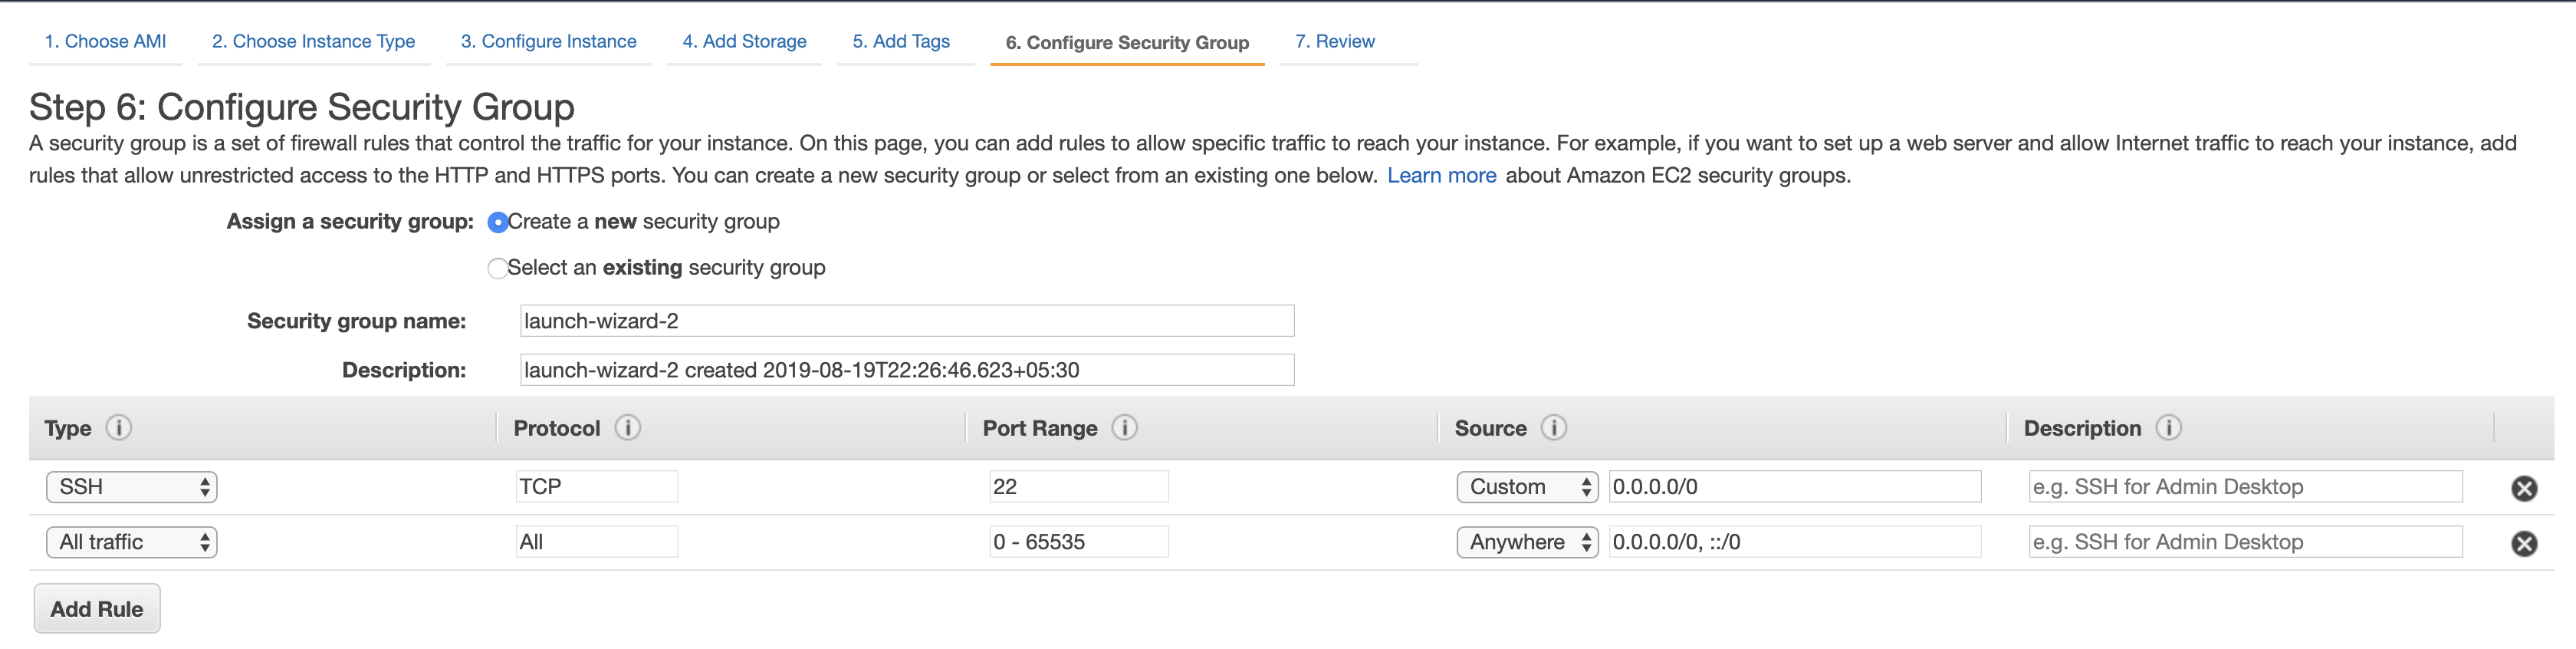
- Configure Security Group to allow traffic on different ports (we are enabling all traffic for this demo)
- Choose a key-pair and Launch the instance


 EC2 running with Amazon AMI
Step 2: Download the k3ups binary
curl -sLS https://raw.githubusercontent.com/alexellis/k3sup/master/get.sh | sh
[root@ip-172-31-33-136 ec2-user]# curl -sLS https://raw.githubusercontent.com/alexellis/k3sup/master/get.sh | sh
which: no k3sup in (/sbin:/bin:/usr/sbin:/usr/bin)
x86_64
Downloading package https://github.com/alexellis/k3sup/releases/download/0.2.0/k3sup as /tmp/k3sup
Download complete.

Running as root - Attempting to move k3sup to /usr/local/bin
New version of k3sup installed to /usr/local/bin
Step 3: Copy the ssh key at ‘vi /root/.ssh/id_rsa’ location in the VM, Export IP and install k3 using k3ups
[root@ip-172-31-33-136 ec2-user]# **cd /usr/local/bin**

[root@ip-172-31-33-136 bin]# **export IP=54.159.112.255**

[root@ip-172-31-33-136 bin]# **./k3sup install --ip $IP --user ec2-user**

Public IP: 54.159.112.255
ssh -i /root/.ssh/id_rsa ec2-user@54.159.112.255

ssh: curl -sLS https://get.k3s.io | INSTALL_K3S_EXEC='server --tls-san 54.159.112.255' sh -
[INFO]  Finding latest release
[INFO]  Using v0.8.0 as release
[INFO]  Downloading hash [https://github.com/rancher/k3s/releases/download/v0.8.0/sha256sum-amd64.txt](https://github.com/rancher/k3s/releases/download/v0.8.0/sha256sum-amd64.txt)
[INFO]  Downloading binary [https://github.com/rancher/k3s/releases/download/v0.8.0/k3s](https://github.com/rancher/k3s/releases/download/v0.8.0/k3s)
[INFO]  Verifying binary download
[INFO]  Installing k3s to /usr/local/bin/k3s
which: no kubectl in (/usr/local/bin:/usr/bin)
[INFO]  Creating /usr/local/bin/kubectl symlink to k3s
which: no crictl in (/usr/local/bin:/usr/bin)
[INFO]  Creating /usr/local/bin/crictl symlink to k3s
which: no ctr in (/usr/local/bin:/usr/bin)
[INFO]  Creating /usr/local/bin/ctr symlink to k3s
[INFO]  Creating killall script /usr/local/bin/k3s-killall.sh
[INFO]  Creating uninstall script /usr/local/bin/k3s-uninstall.sh
[INFO]  env: Creating environment file /etc/systemd/system/k3s.service.env
[INFO]  systemd: Creating service file /etc/systemd/system/k3s.service
[INFO]  systemd: Enabling k3s unit
Created symlink from /etc/systemd/system/multi-user.target.wants/k3s.service to /etc/systemd/system/k3s.service.
[INFO]  systemd: Starting k3s
Result: [INFO]  Finding latest release
[INFO]  Using v0.8.0 as release
[INFO]  Downloading hash [https://github.com/rancher/k3s/releases/download/v0.8.0/sha256sum-amd64.txt](https://github.com/rancher/k3s/releases/download/v0.8.0/sha256sum-amd64.txt)
[INFO]  Downloading binary [https://github.com/rancher/k3s/releases/download/v0.8.0/k3s](https://github.com/rancher/k3s/releases/download/v0.8.0/k3s)
[INFO]  Verifying binary download
[INFO]  Installing k3s to /usr/local/bin/k3s
[INFO]  Creating /usr/local/bin/kubectl symlink to k3s
[INFO]  Creating /usr/local/bin/crictl symlink to k3s
[INFO]  Creating /usr/local/bin/ctr symlink to k3s
[INFO]  Creating killall script /usr/local/bin/k3s-killall.sh
[INFO]  Creating uninstall script /usr/local/bin/k3s-uninstall.sh
[INFO]  env: Creating environment file /etc/systemd/system/k3s.service.env
[INFO]  systemd: Creating service file /etc/systemd/system/k3s.service
[INFO]  systemd: Enabling k3s unit
[INFO]  systemd: Starting k3s
which: no kubectl in (/usr/local/bin:/usr/bin)
which: no crictl in (/usr/local/bin:/usr/bin)
which: no ctr in (/usr/local/bin:/usr/bin)
Created symlink from /etc/systemd/system/multi-user.target.wants/k3s.service to /etc/systemd/system/k3s.service.
ssh: sudo cat /etc/rancher/k3s/k3s.yaml
Saving file to: /usr/local/bin/kubeconfig
It will also create a kubeconfig file and save in the directory from where you ran the command.
Step 4: Exporting KUBECONFIG
[root@ip-172-31-33-136 bin]#** export KUBECONFIG=`pwd`/kubeconfig**
Step 5: Start playing with k3s
[root@ip-172-31-33-136 bin]# **./kubectl get nodes**

NAME                            STATUS   ROLES    AGE   VERSION

ip-172-31-33-136.ec2.internal   Ready    master   24s   v1.14.5-k3s.1


[root@ip-172-31-33-136 bin]# **./kubectl get pods -n kube-system**

NAME                         READY   STATUS      RESTARTS   AGE

coredns-b7464766c-ngf46      1/1     Running     0          4m3s

helm-install-traefik-x6wfj   0/1     Completed   0          4m3s

svclb-traefik-65gw9          2/2     Running     0          3m49s

traefik-56688c4464-5rdss     1/1     Running     0          3m49s
Running a sample Service:
# Create a Deployment
**./kubectl run nginx --image=nginx**

# Create Service
[root@ip-172-31-33-136 bin]# **./kubectl expose deployment nginx --port=80 --target-port=80**

service/nginx exposed

[root@ip-172-31-33-136 bin]# **./kubectl get svc**

NAME         TYPE        CLUSTER-IP     EXTERNAL-IP   PORT(S)   AGE

kubernetes   ClusterIP   10.43.0.1      <none>        443/TCP   45m

nginx        ClusterIP   10.43.99.179   <none>        80/TCP    5s

[root@ip-172-31-33-136 bin]#  **curl 10.43.99.179**

<!DOCTYPE html>
<html>
<head>
<title>Welcome to nginx!</title>
<style>
body {
width: 35em;
margin: 0 auto;
font-family: Tahoma, Verdana, Arial, sans-serif;
}
</style>
</head>
<body>
<h1>Welcome to nginx!</h1>
<p>If you see this page, the nginx web server is successfully installed and
working. Further configuration is required.</p>
<p>For online documentation and support please refer to
<a href="http://nginx.org/">nginx.org</a>.<br/>
Commercial support is available at
<a href="http://nginx.com/">nginx.com</a>.</p>
<p><em>Thank you for using nginx.</em></p>
</body>
</html>
Joining Two Nodes: Is it possible to join nodes with the master without logging onto the nodes? Yes, with k3ups it is.
After getting the k3s setup on the VM, you can start to easily join the nodes to the cluster:
#AGENT_IP is the IP of the VM that you want to add to the cluster that has k3s running
**export AGENT_IP=54.196.113.156**

#SERVER_IP is the IP of the server where k3 is installed
export SERVER_IP=54.159.112.255
**export USER=ec2-user**

[root@ip-172-31-33-136 bin]# **./k3sup join --ip $AGENT_IP --server-ip $SERVER_IP --user ec2-user
**Server IP: 54.159.112.255
ssh -i /root/.ssh/id_rsa ec2-user@54.159.112.255
ssh: sudo cat /var/lib/rancher/k3s/server/node-token

K1077d707d0868b652aca7adfc21b5f34a1f0357e71b216bf8b3c94a559cd4f93a6::node:014c8ed3f6574d27db73b9c8bf67f617

ssh: curl -sfL https://get.k3s.io/ | K3S_URL="https://54.159.112.255:6443" K3S_TOKEN="K1077d707d0868b652aca7adfc21b5f34a1f0357e71b216bf8b3c94a559cd4f93a6::node:014c8ed3f6574d27db73b9c8bf67f617" sh -

[INFO]  Finding latest release
[INFO]  Using v0.8.0 as release
[INFO]  Downloading hash [https://github.com/rancher/k3s/releases/download/v0.8.0/sha256sum-amd64.txt](https://github.com/rancher/k3s/releases/download/v0.8.0/sha256sum-amd64.txt)
[INFO]  Downloading binary [https://github.com/rancher/k3s/releases/download/v0.8.0/k3s](https://github.com/rancher/k3s/releases/download/v0.8.0/k3s)
[INFO]  Verifying binary download
[INFO]  Installing k3s to /usr/local/bin/k3s
which: no kubectl in (/usr/local/bin:/usr/bin)
[INFO]  Creating /usr/local/bin/kubectl symlink to k3s
which: no crictl in (/usr/local/bin:/usr/bin)
[INFO]  Creating /usr/local/bin/crictl symlink to k3s
which: no ctr in (/usr/local/bin:/usr/bin)
[INFO]  Creating /usr/local/bin/ctr symlink to k3s
[INFO]  Creating killall script /usr/local/bin/k3s-killall.sh
[INFO]  Creating uninstall script /usr/local/bin/k3s-agent-uninstall.sh
[INFO]  env: Creating environment file /etc/systemd/system/k3s-agent.service.env
[INFO]  systemd: Creating service file /etc/systemd/system/k3s-agent.service
[INFO]  systemd: Enabling k3s-agent unit
Created symlink from /etc/systemd/system/multi-user.target.wants/k3s-agent.service to /etc/systemd/system/k3s-agent.service.
[INFO]  systemd: Starting k3s-agent
Logs: which: no kubectl in (/usr/local/bin:/usr/bin)
which: no crictl in (/usr/local/bin:/usr/bin)
which: no ctr in (/usr/local/bin:/usr/bin)
Created symlink from /etc/systemd/system/multi-user.target.wants/k3s-agent.service to /etc/systemd/system/k3s-agent.service.
Output: [INFO]  Finding latest release
[INFO]  Using v0.8.0 as release
[INFO]  Downloading hash [https://github.com/rancher/k3s/releases/download/v0.8.0/sha256sum-amd64.txt](https://github.com/rancher/k3s/releases/download/v0.8.0/sha256sum-amd64.txt)
[INFO]  Downloading binary [https://github.com/rancher/k3s/releases/download/v0.8.0/k3s](https://github.com/rancher/k3s/releases/download/v0.8.0/k3s)
[INFO]  Verifying binary download
[INFO]  Installing k3s to /usr/local/bin/k3s
[INFO]  Creating /usr/local/bin/kubectl symlink to k3s
[INFO]  Creating /usr/local/bin/crictl symlink to k3s
[INFO]  Creating /usr/local/bin/ctr symlink to k3s
[INFO]  Creating killall script /usr/local/bin/k3s-killall.sh
[INFO]  Creating uninstall script /usr/local/bin/k3s-agent-uninstall.sh
[INFO]  env: Creating environment file /etc/systemd/system/k3s-agent.service.env
[INFO]  systemd: Creating service file /etc/systemd/system/k3s-agent.service
[INFO]  systemd: Enabling k3s-agent unit
[INFO]  systemd: Starting k3s-agent


[root@ip-172-31-33-136 bin]# **./kubectl get nodes**

NAME                            STATUS   ROLES    AGE   VERSION

ip-172-31-33-136.ec2.internal   Ready    master   19m   v1.14.5-k3s.1

ip-172-31-37-118.ec2.internal   Ready    worker   11s   v1.14.5-k3s.1
You can see how easy it was to set up a k3s cluster and join a VM as nodes running on Amazon EC2 instance in less than 60 seconds using k3ups. Great work by Alex that is worth checking out.
k3ups Announcement tweet
Read more from Saiyam Pathak on his medium blog.
Related Articles
Mar 25th, 2024
Announcing the Harvester v1.3.0 release
Feb 07th, 2023
Using Hyperconverged Infrastructure for Kubernetes
Jan 05th, 2024
Announcing the Rancher Kubernetes API
May 03rd, 2022